Vespa LXV150 I.E. (EFI) Fuel Pump Removal and Replacement in Downtown Denver, Colorado
This is a 2012 Vespa LXV150 I.E. and, according to a local shop, it needed its fuel pump replaced. More on that at the end of this post. First let’s talk about what it takes to replace the fuel pump in one of these machines.
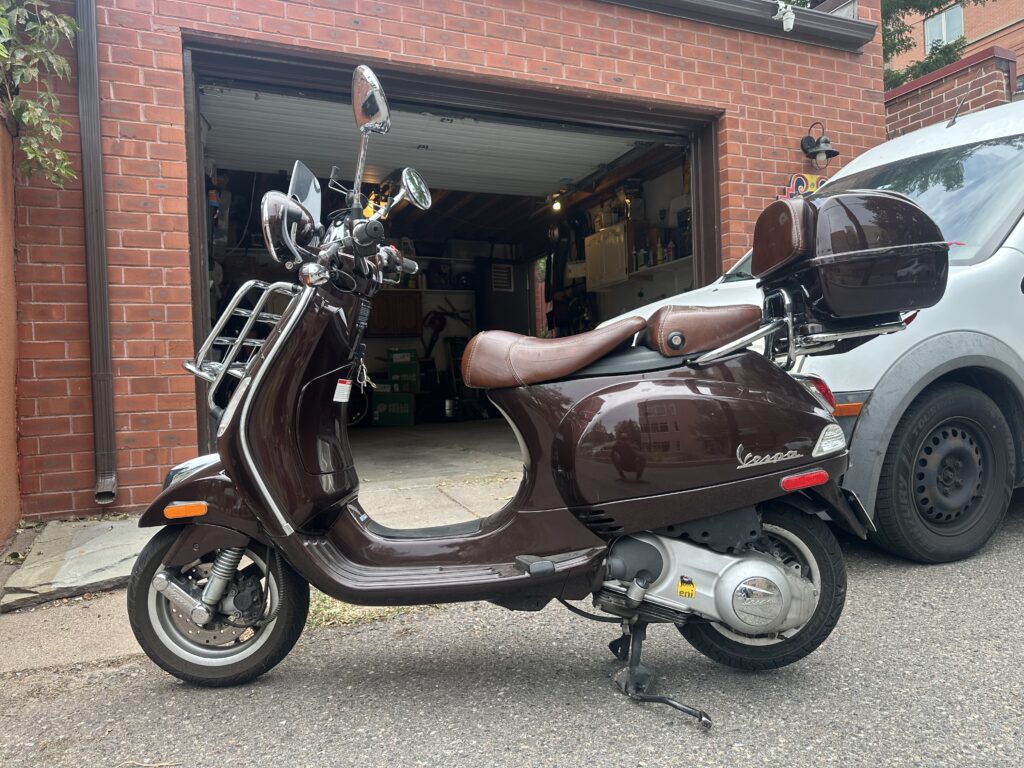
I need a flat surface to do this type of work. I cannot do it on an incline, severe or not. As luck would have it, my customer had a garage for me to use to work on his bike. A garage is always appreciated and makes my job a lot easier! A garage keeps me out of the sun and away from traffic. A garage is a lot more comfortable than working in the street or in a parking lot and getting roasted by the sun the entire time I’m working on your bikes.
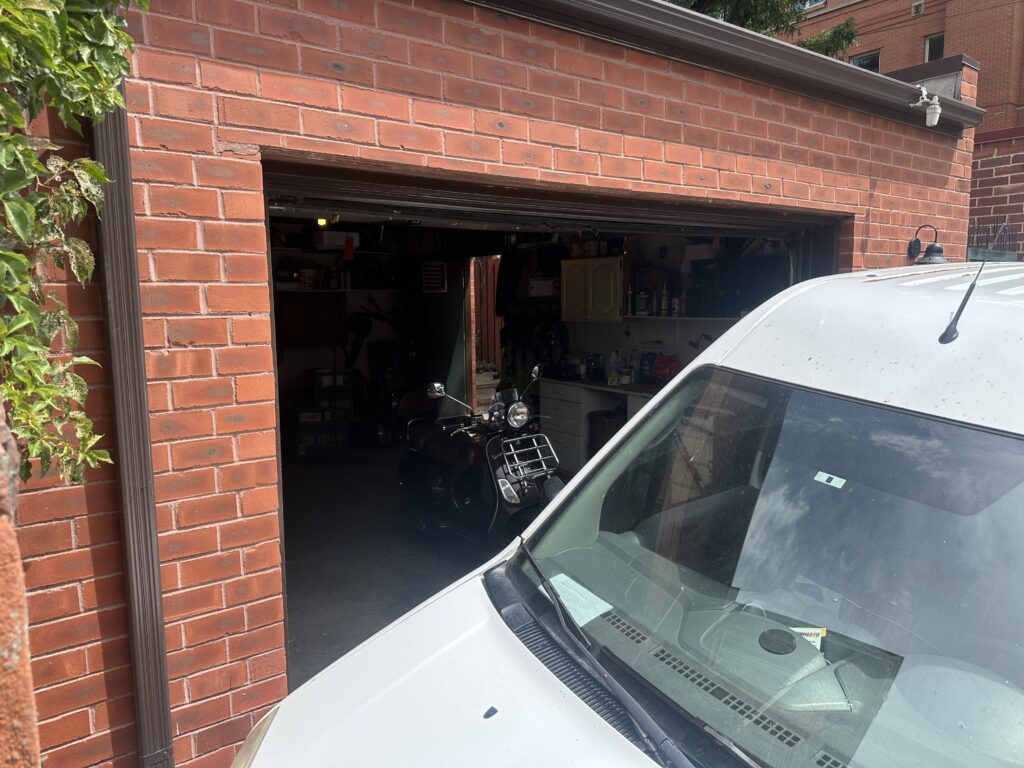
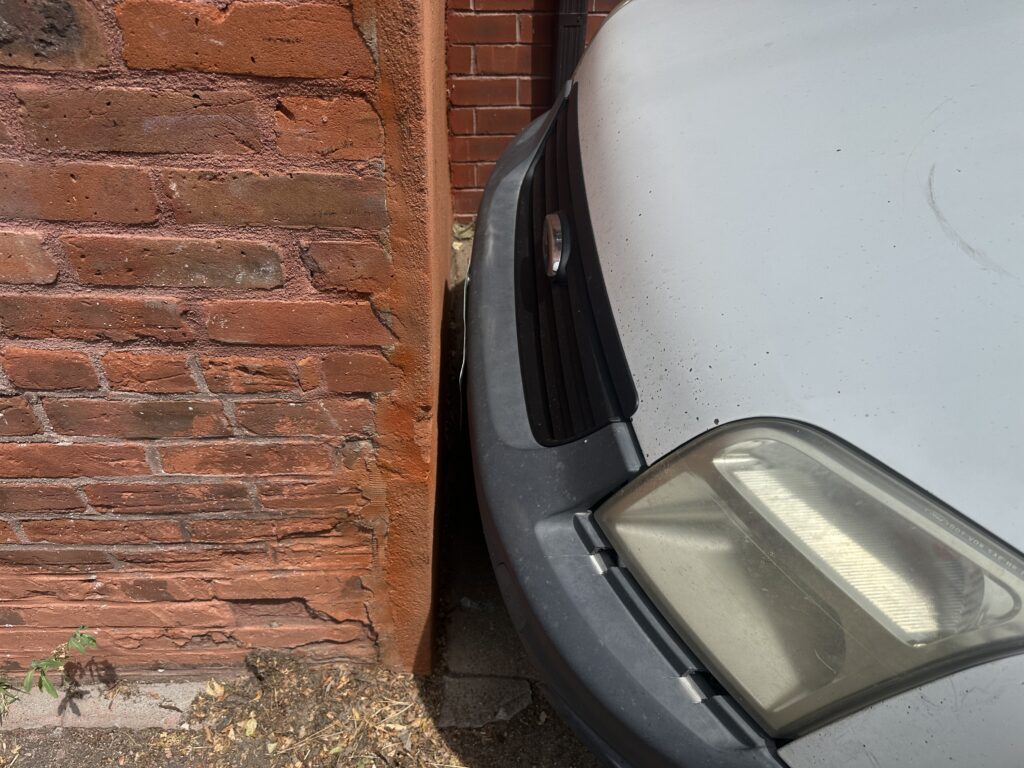
Because this garage opened up into a busy alleyway, I had to park very, very close to the opening. Of course I know exactly where my work van starts and ends, and I know how much room I need to access my tools from the side and rear of my van. Check it out. I had inches to spare!
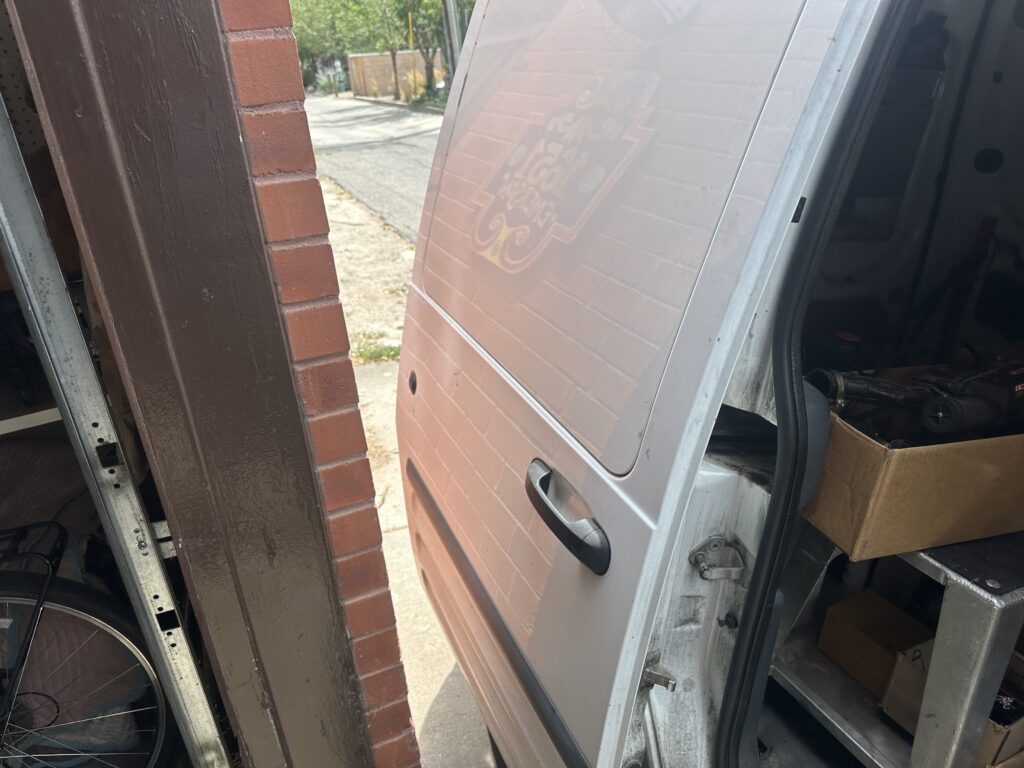
My tool bins are stored in the rear of my van, and there was very little room to fit them through this narrow opening, so I slid them over the top of my van and through the open garage door. I use bins from U-Line that I’ve had for ~10 years to keep parts and tools organized while I work on my customers’ bikes.
The only “special tool” required to do this job is a motorcycle flat jack. The rest is all basic hand tools, although I had to use an impact wrench to remove the rear axle nut because someone who isn’t me decided to over-tighten the shit out of it at some point in the past. Honestly I thought I was going to break something removing it. The axle nut on these bikes is held fast with a collar that’s secured with a cotter-pin. It doesn’t need to be “that tight”. The spec is ~77 foot pounds. This one was tightened to 100+ and was a pain in the ass to remove for it.
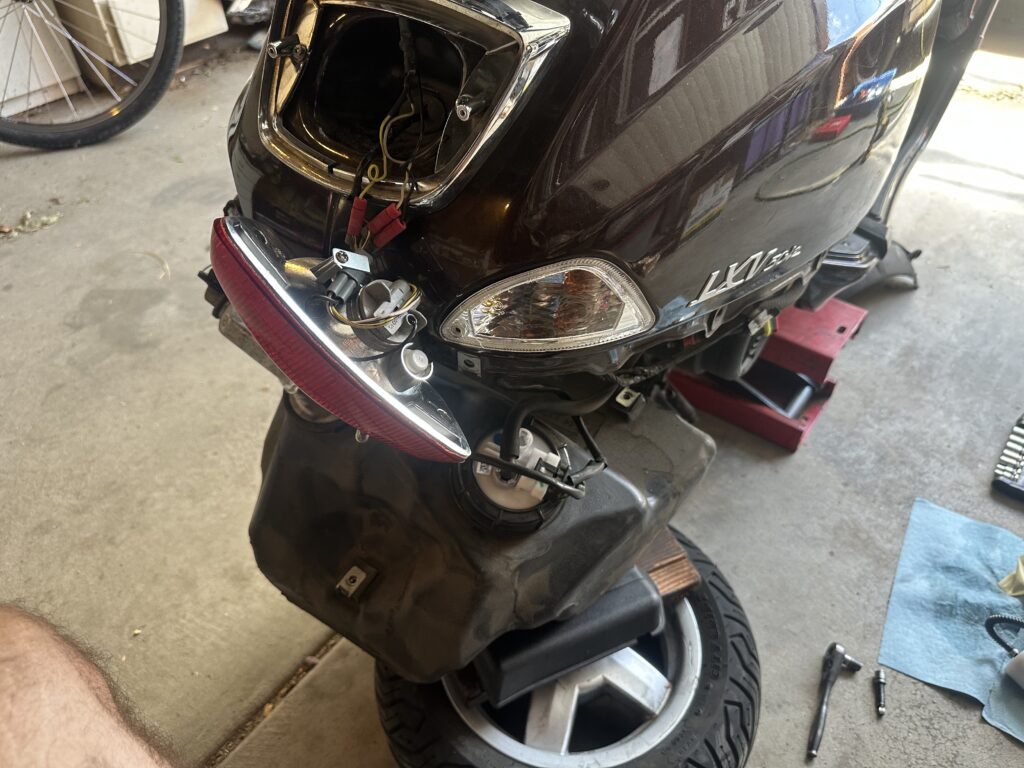
Here’s the dear Vespa up on a flat jack. I placed the jack as far to the rear of the underside of the frame as I could get it without contacting the engine. This pic was taken toward the middle of the job, after I’d dropped the fuel tank and used the rear wheel and battery cover to support it.
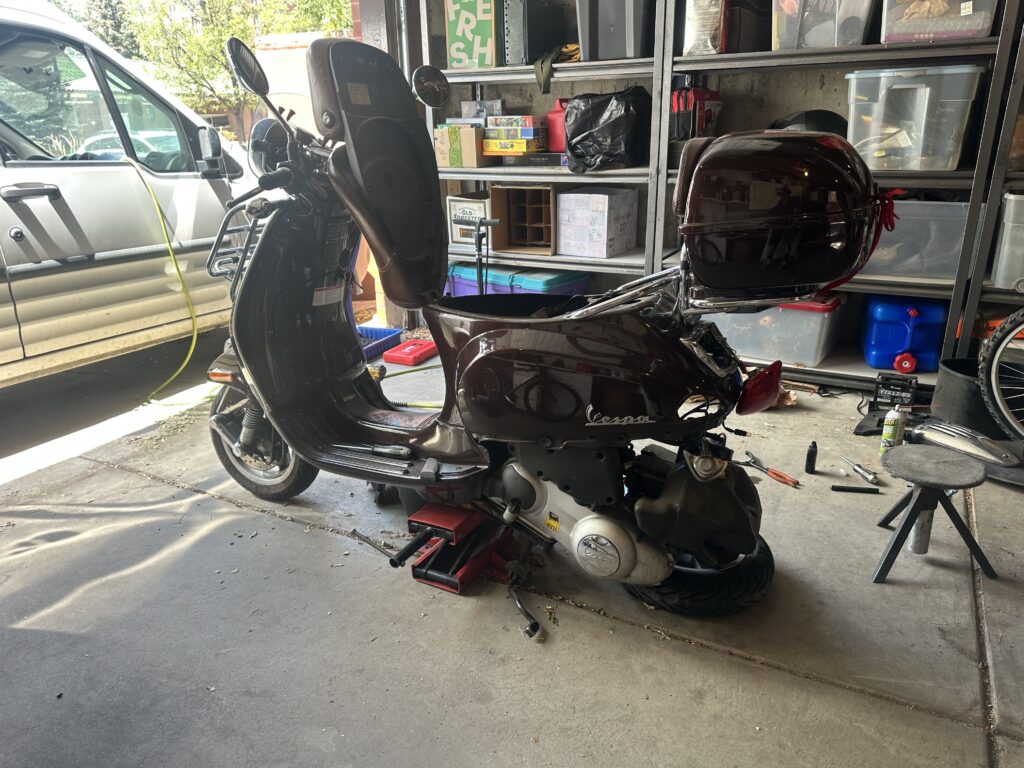
The fuel tank itself is fastened to the frame using 3x 8mm M6 bolts. Unfortunately, accessing these bolts is a complete pain in the neck. Quite a bit of the bike needs to be disassembled in order to access these 3x bolts and drop the fuel tank out of the rear of the bike.
I started by disassembling the battery box. The battery, the plastic battery box surround, and the rectangular battery holder at the bottom all need to come out. You’ll need some TORX bits or drivers along with a Philips head screwdriver to accomplish this task. This part is easy! It only gets harder from here!
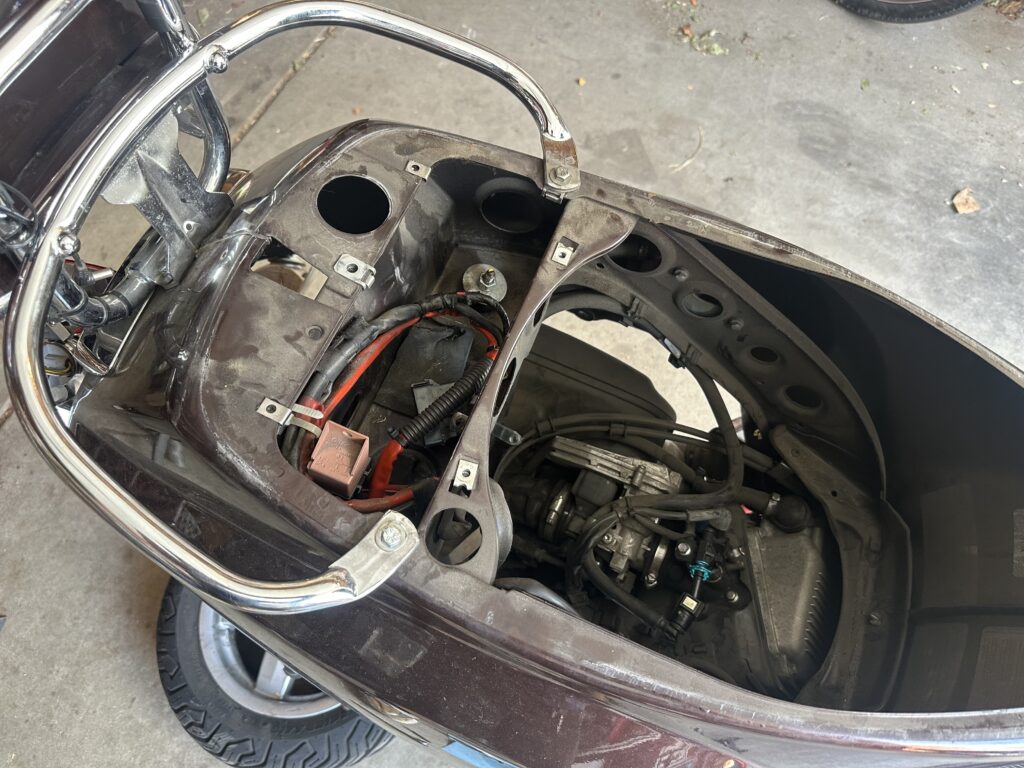
The first 2x 8mm bolts for the fuel tank are toward the front of the rectangular hole the battery fits into. The one on the left, or port, side of the bike is easy enough the access. The one on the right is under all of the wiring. You’ll need to gently pull the wiring to the side while you drop an 8mm socket attached to a 6″+ extension and ratchet into the box to access this second bolt. Use a flashlight and root around in the hole until you find the bolt. Because this is a Vespa, of course there are washers between the bolts and the frame, so be careful not to lose those as you remove these bolts.
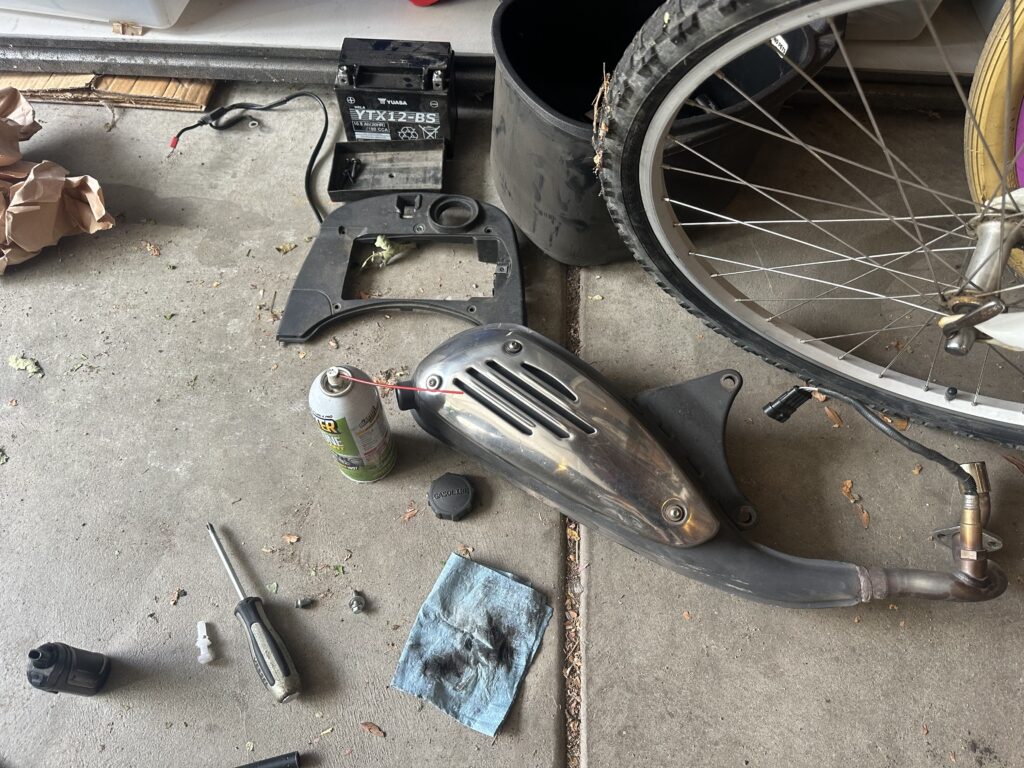
You’re also going to need to remove the exhaust and the rear wheel to make enough room to drop the fuel tank down far enough to access the fuel pump. Use a 1/4″ drive ratchet and a 6″+ wobble extension with a 10mm socket attached to remove the nuts holding the exhaust header to the cylinder head. The rear exhaust bracket is held fast to the engine using 6mm Allen/hex bolts. Remove those with a 6mm Allen/hex socket attached to a 3/8″ drive ratchet.
The rear wheel is fastened to the engine with a large 24mm nut, secured with a safety collar and cotter pin, with a washer between the nut and the wheel. Start by removing the cotter pin. It’s OK to cut it in half with a pair of dikes as long as you have a new one on hand. Use a breaker bar with a 24mm socket attached to remove the nut. Use penetrating oil to help the nut move as you apply torque to it.
The trick here is to hold the rear brake with your left hand, rock the scooter back until the rear wheel touches the ground, fit the breaker bar to the axle nut, and then use your left foot to STOMP the breaker bar. If you get lucky, and the nut isn’t too tight, it will spin loose with this procedure. This procedure is the same on most scooters. If you do not get lucky, you may need to secure the rear brake lever with a zip tie and use an impact, either air or electric, to remove the axle nut. I had to use an electric impact to remove the axle nut on this bike after my attempts with the breaker bar failed because the nut was too tight.
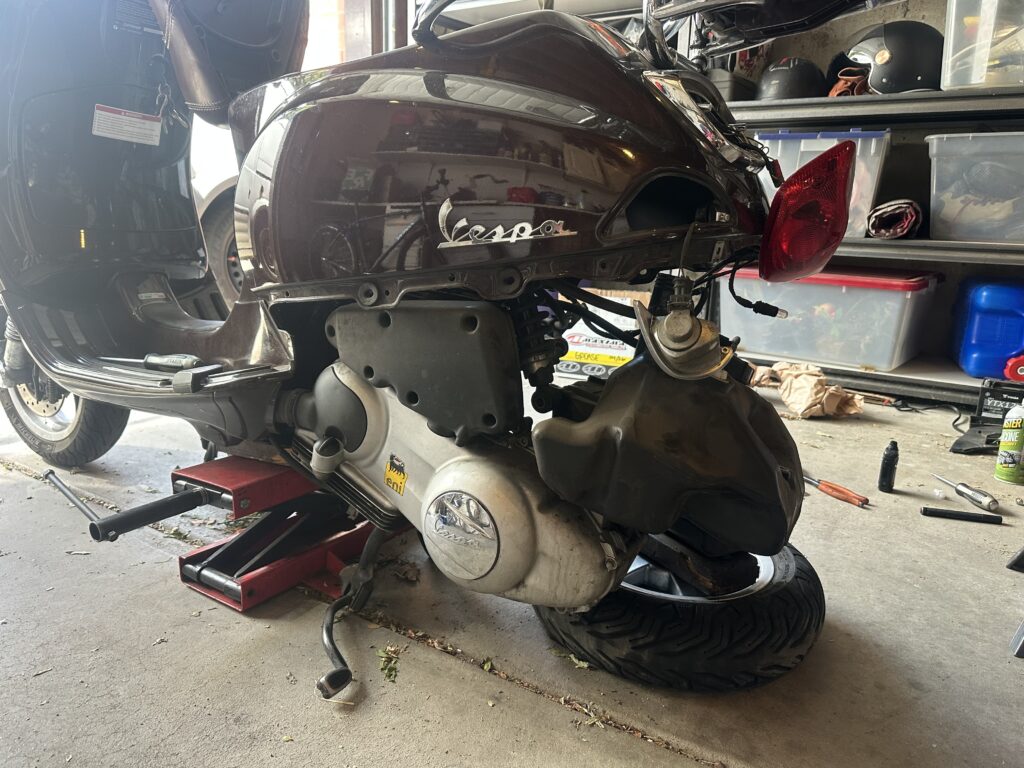
The point of using a flat jack to support the bike’s frame is to take pressure off of the rear shock, which needs to be disconnected to allow the fuel tank to drop down far enough to access the fuel pump. Start by jacking the bike up only so far as to allow you to remove the lower clevis bolt from the shock.
On this Vespa the shock was secured using a 14mm bolt and a 17mm nut. The engine isn’t that heavy, so you can support much of it with one hand while you remove the bolt from the lower shock mount. With the shock disconnected from the engine, you can then jack the bike up farther to create more clearance for the fuel tank.
Although I didn’t snap a picture of it, the rear fender needs to be removed to make as much room as possible on top of the engine. It’s held on the right side by a TORX bit and on the left side by the rear airbox screw. Remove these fasteners and work the rear fender loose.
The rear indicators interfere with dropping the fuel tank down as well, so you’ll need to remove those using a Phillips head screwdriver. The fuel and vent lines are fastened to the bottom of the fuel tank with an 8mm bolt that threads into a metal insert fitted to the bottom of the fuel tank. Remove this bolt, so you can swing the lines out of the way as you drop the fuel tank down.
Finally, the LAST 8MM BOLT for the fuel tank is located under the tail light, which you will also use a Phillips head screwdriver to remove. The fuel tank will want to start dropping down as you remove this last bolt, so it would be a good idea to support it with one hand while you remove the bolt with the other.
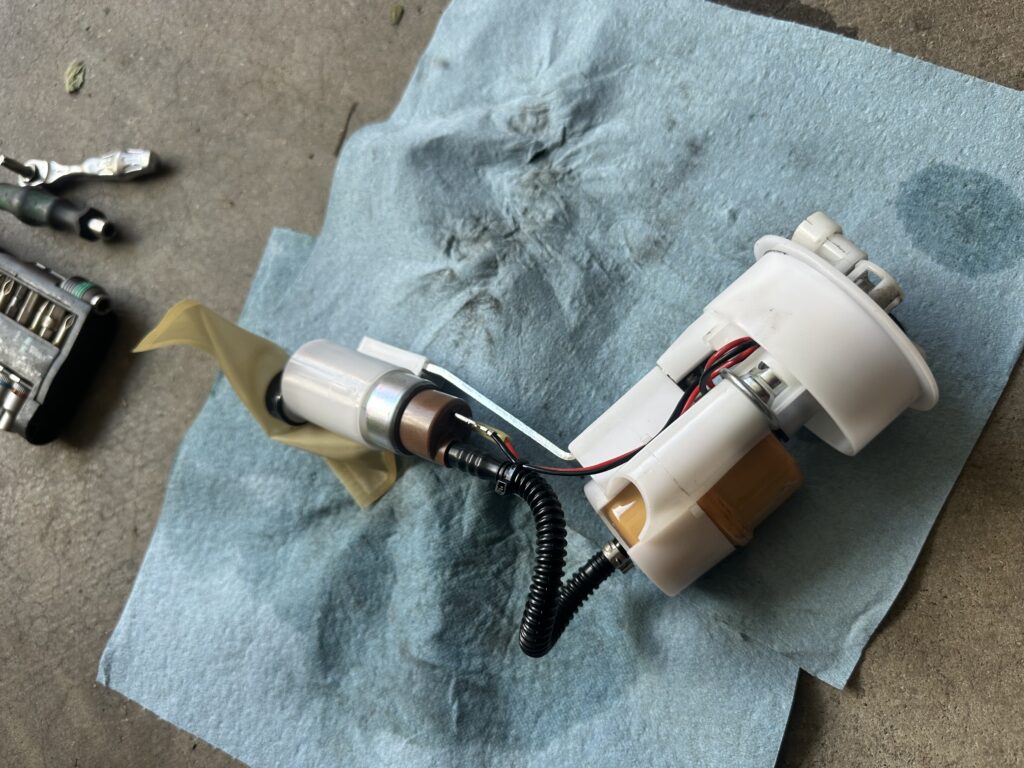
The fuel tank drops down from the right side first. To drop it down, tilt it towards the right at first and then wedge or slide it out from that direction. I use the rear wheel and the battery cover to support the fuel tank as I remove the old fuel pump and fit the new one. I use a large oil filter wrench to remove the plastic collar that holds the fuel pump in place AFTER disconnecting the electrical plugs from the fuel level sending unit and the fuel pump. To remove the fuel line from the pump, push DOWN on it and then swiftly yank it in an upward direction.
In my experience, the large rubber gasket – usually green in color – does NOT need to be replaced. It stays in plenty good shape to be re-used as least once, even after 10+ years of use. After you remove the plugs and collar, go ahead and work the fuel pump free from the tank and the gasket. You’ll need to pull it out at an angle and work the lines past the opening in the fuel tank to remove it.
Now that you’ve finally removed the old fuel pump, insert the new one in the same orientation as the old one. Now for my favorite words in the mechanical universe: reassembly is the reverse of disassembly. If you’re trying to do this job yourself, and you’re not very “mechanically inclined,” I’d recommend against even trying to DIY. If you are somewhat mechanically inclined and have plenty of tools on hand, expect it to take you 4-5 hours to figure everything out on your first go-around.
I can replace your Vespa’s fuel pump onsite in your garage, on a FLAT driveway, or on a FLAT parking lot in about 2 hours, which is also what I charge to do this type of work. With my service call and shop supplies, that works out to ~$349.50 + the cost of the fuel pump itself, which is $295.95 from ScooterWest.
Nobody ever said that owning, operating, and maintaining beautiful Italian machines was cheap!
Diagnosing Fuel Pump Issues
A local shop diagnosed, or attempted to diagnose, the above bike’s problem as a fuel pump issue requiring a new fuel pump. Unfortunately for the owner of this bike, that local shop was wrong with its diagnosis. We didn’t find that out until after the owner ordered a new, OEM fuel pump and paid me to install it.
I tried to verify the local shop’s diagnostic work with a pressure gauge attached to the bike’s fuel line before I embarked on replacing the fuel pump.
I saw 37psi on my pressure gauge when turning the key and the same amount, rock steady, as the bike started, idled, and revved under no load. In my experience, a fuel pump is an either/or type of problem. It either works or it doesn’t. I often test them without a gauge. If I remove the fuel line, turn the key, and hear “fuel pump noises,” but nothing or very little comes out of the line, that’s a great indicator that the fuel pump is broken. I also test fuel pumps without a gauge by powering them up and then removing the fuel line. If the fuel pump is working, fuel should spray out with considerable force as I remove the fuel line from the rail. If any of these results seem ambiguous, I’ll hook the fuel line up to a pressure gauge and put numbers on it to compare to factory specs.
If I don’t hear any “fuel pump noises,” it may be a fuse or relay issue instead. These parts are easy enough to test. I shared my findings with the bike’s owner and he said “replace it anyway“.
So here we are with a bike that still doesn’t run right even after the considerable expense and time invested in replacing the fuel pump. The original symptom or main problem is the bike refuses to idle and refuses to hot start after 15-25 minutes of hard riding.
To be honest, given the symptoms I would not have first suspected a faulty fuel pump. I suspect the bike needs a valve adjustment. It has just over 10,000 miles on it and, according to the owner, the valves have never been adjusted. With that said, I too could be wrong, but a valve adjustment would have been a good place to start without having to buy and install $300+ worth of parts.
I didn’t have time to do the valve adjustment after replacing the fuel pump, so that will have to be for another day. The owner of this bike is quite committed to getting it back in good running condition, so I’ll keep y’all updated with what I find as I work on it.
If you need work done on your Vespa, either EFI or carbureted, I’d love it if you booked online. If you have questions or would rather book an appointment over the phone, call or text me at (720) 634-6935. If you call, be sure to leave a message with your name, the year, make, and model of your bike, and roughly what it’s doing. As always, thanks for reading! Until next time!